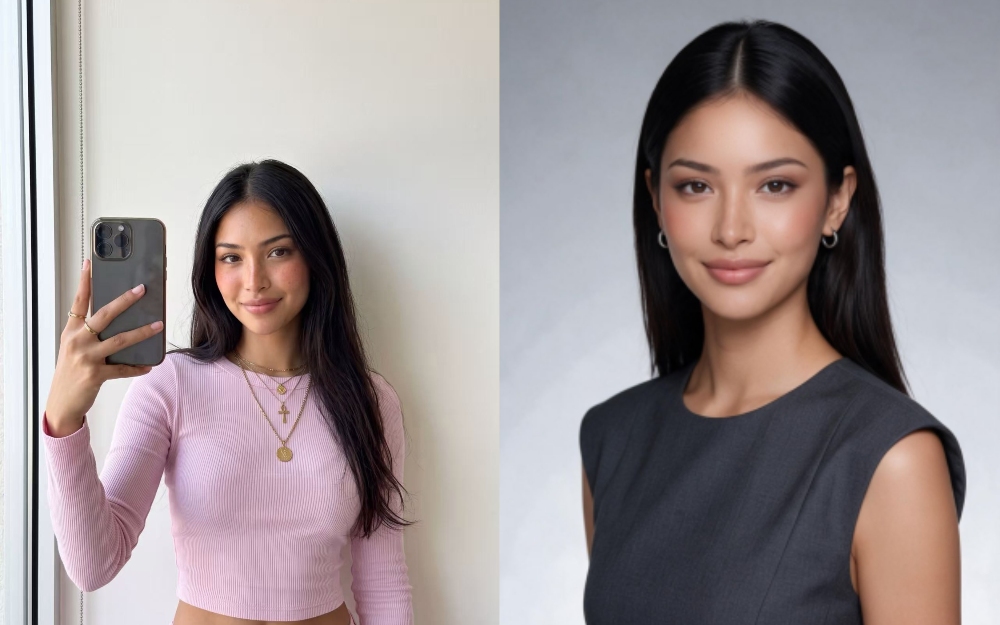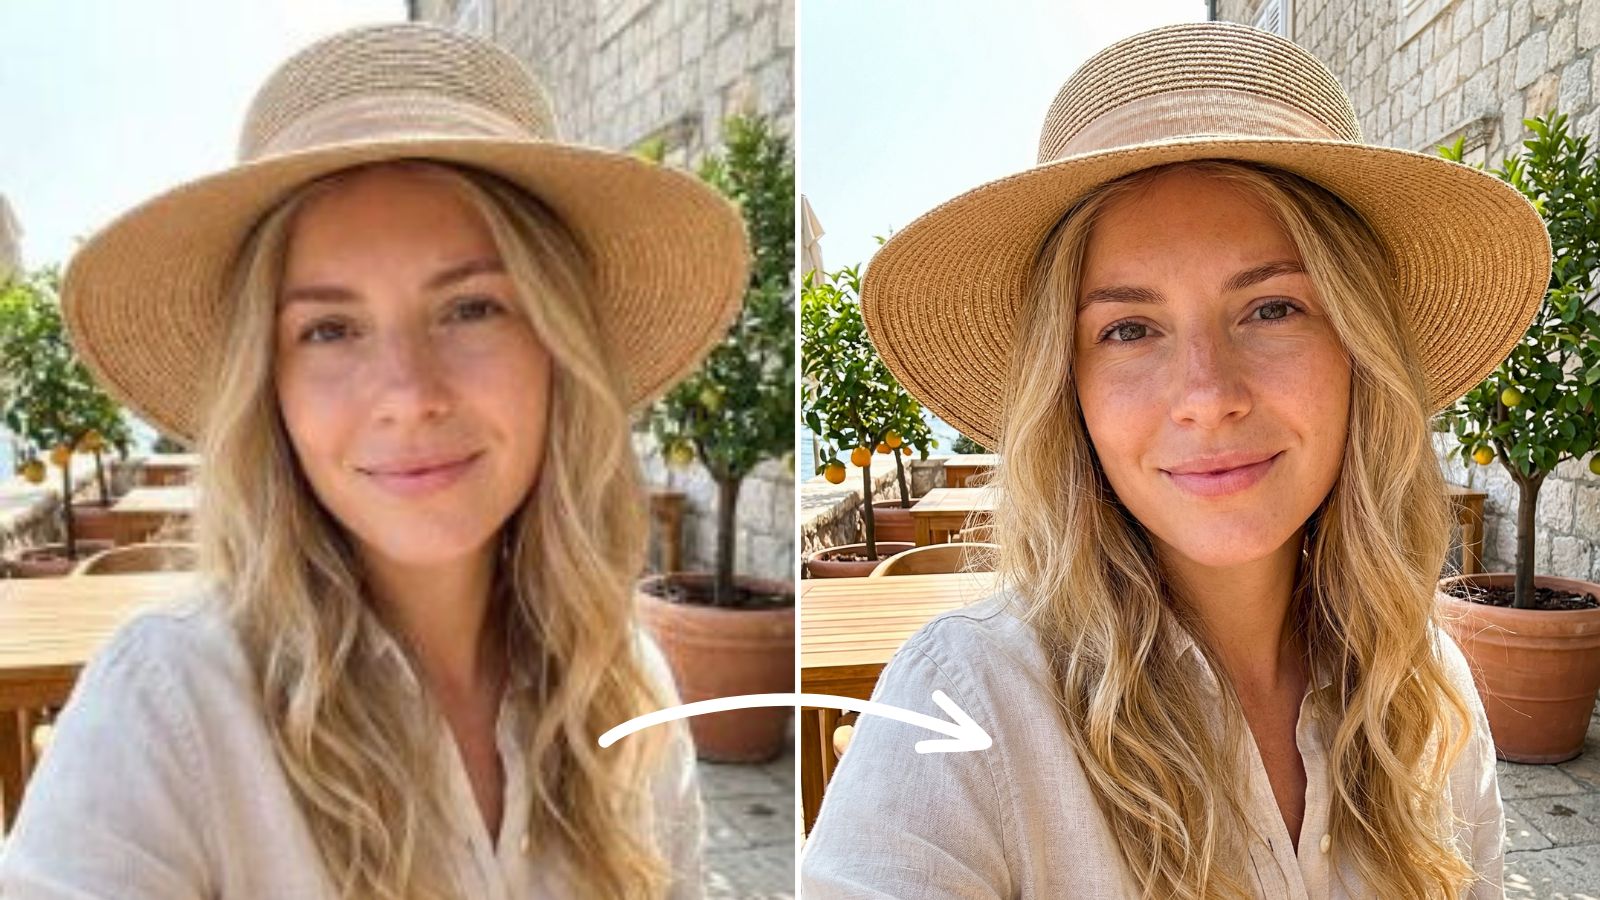
How to Brighten Photos with a Flash Effect in Meitu
By Meitu Featured Editing Team · Updated September 20, 2026


To add a flash effect to an existing photo in Meitu, open the image and tap Adjust → Light → Flash. Wait for processing to finish, adjust the intensity, and tap the checkmark to apply the effect. Then tap Save.
Dark photos can look brighter and more balanced with Meitu’s Flash effect. It works especially well for portraits taken indoors, at night, or in backlit scenes.
This tutorial shows how to use Flash on a dim indoor portrait, with tips for choosing an intensity that brightens the subject while keeping the atmosphere of the original photo.
Table of Contents
- Give a dim portrait a flash-lit look
- Choose a photo to edit
- How to use Meitu’s Flash effect
- How to choose the right intensity
- FAQs
Give a Dim Portrait a Flash-Lit Look
You like the expression, the outfit, and the setting—but the person in the photo looks a little too dark. This can happen in restaurants, lounges, and other interiors where warm background lighting creates atmosphere without clearly lighting the face.
A flash-style edit is one way to explore a different look without taking another photo.
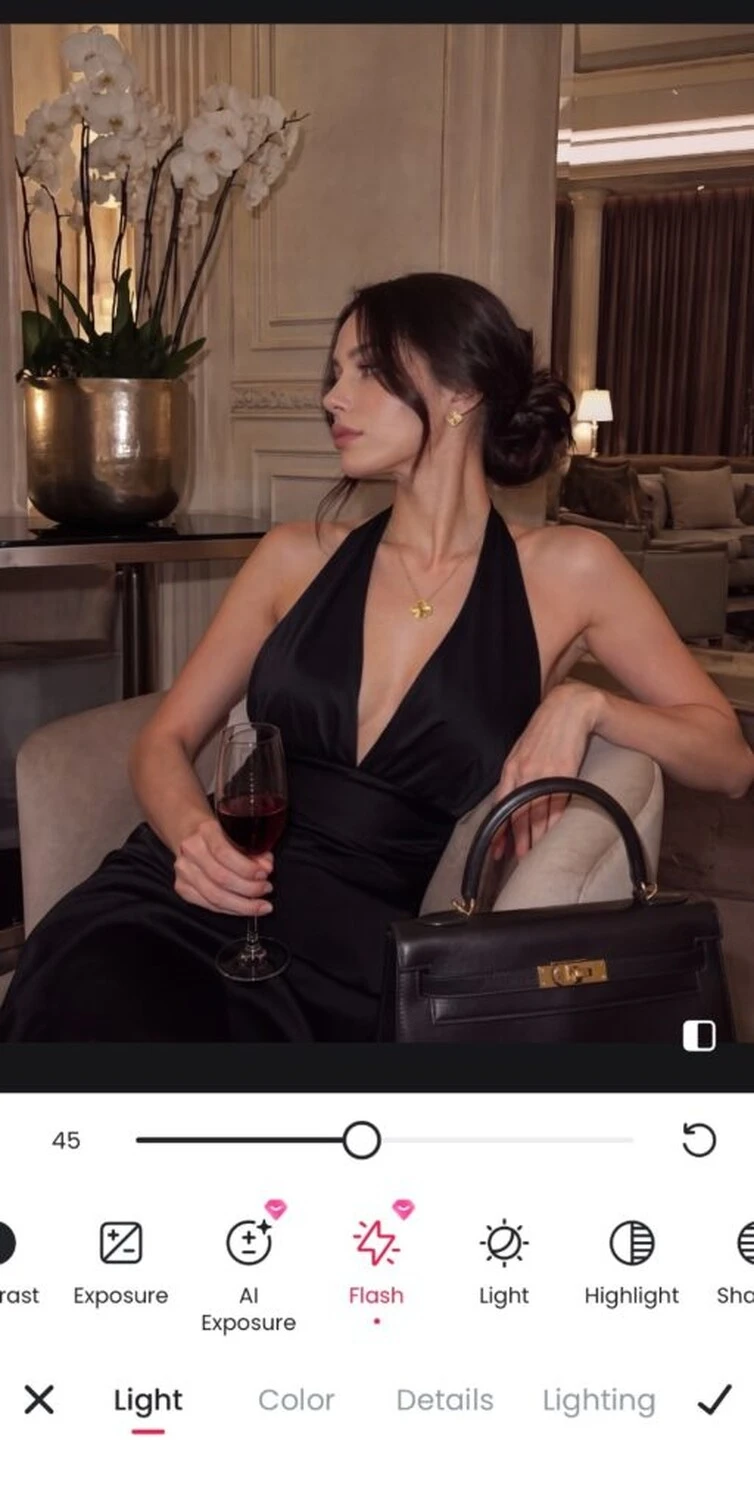
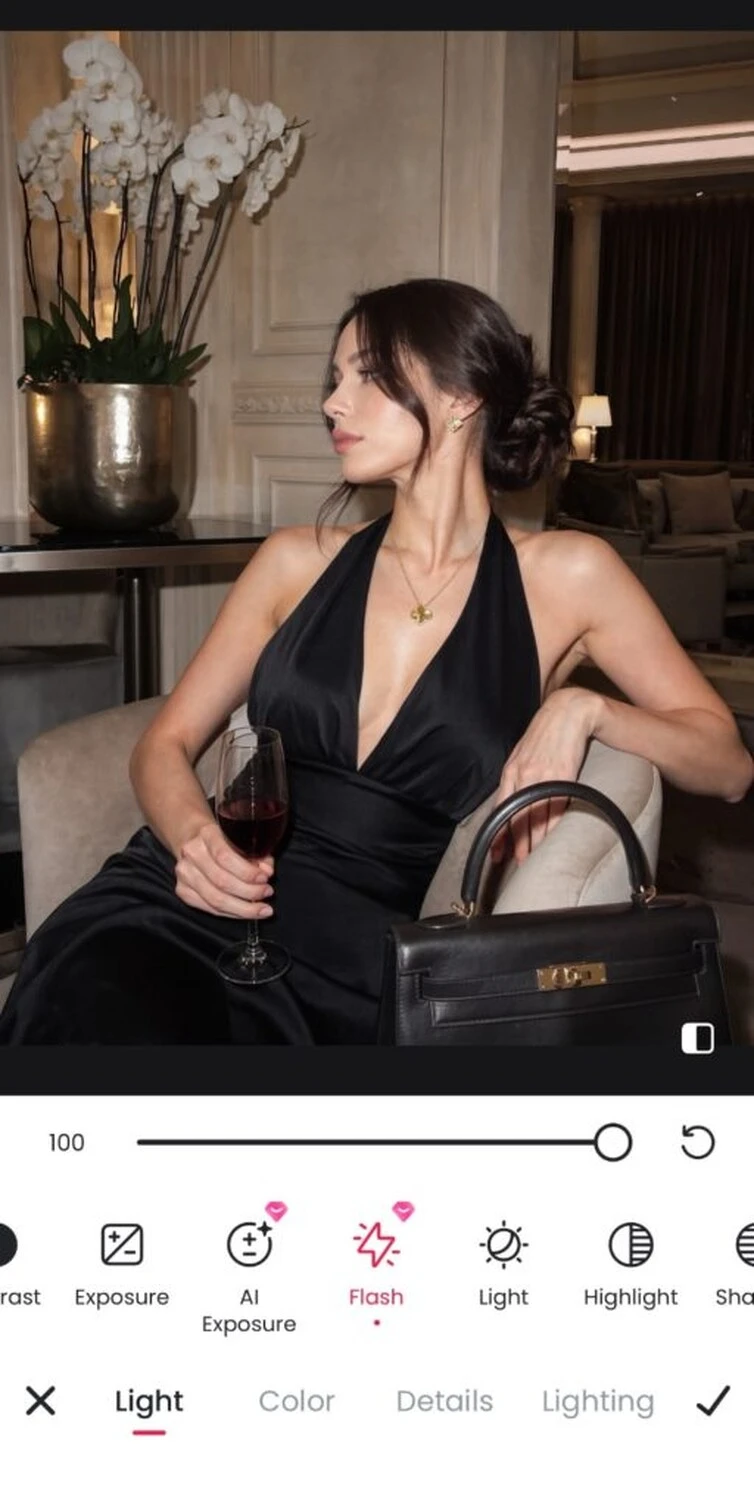
In the example below, Meitu’s Flash effect makes the face, shoulders, and clothing more visible. The room remains part of the image, but the brighter subject draws more attention.
The goal is to find a balance: enough of a lighting change to create the look you want, with enough detail and color left in the face to make the result feel right for the photo.
Choose a Photo to Edit
Start with a portrait that is reasonably sharp and has visible detail in the face. A slightly dark photo gives you something useful to work with; a heavily blurred image or a face with little captured detail may be better retaken.
Use the original photo when possible. It will give you a clearer basis for checking texture, color, and the finished effect.
How to Use Meitu’s Flash Effect
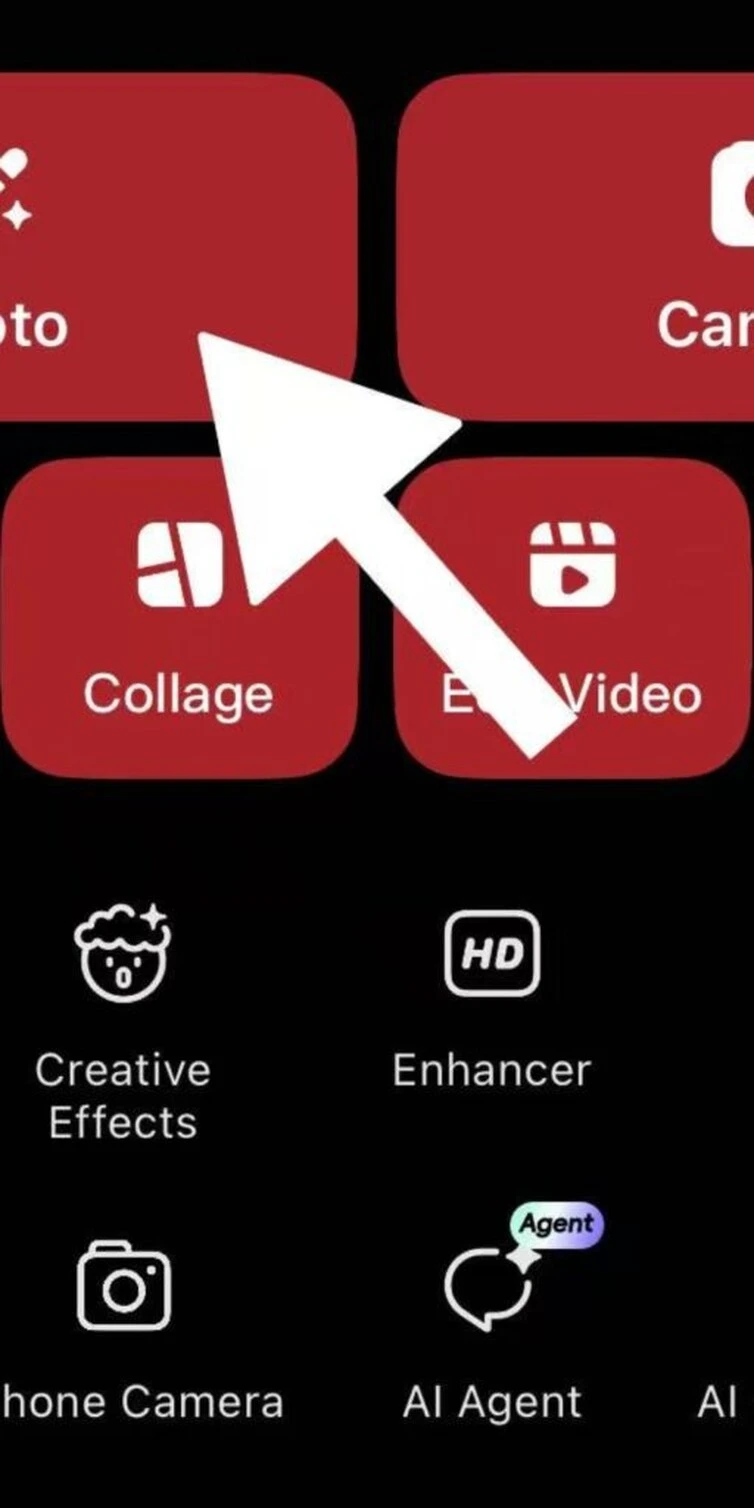
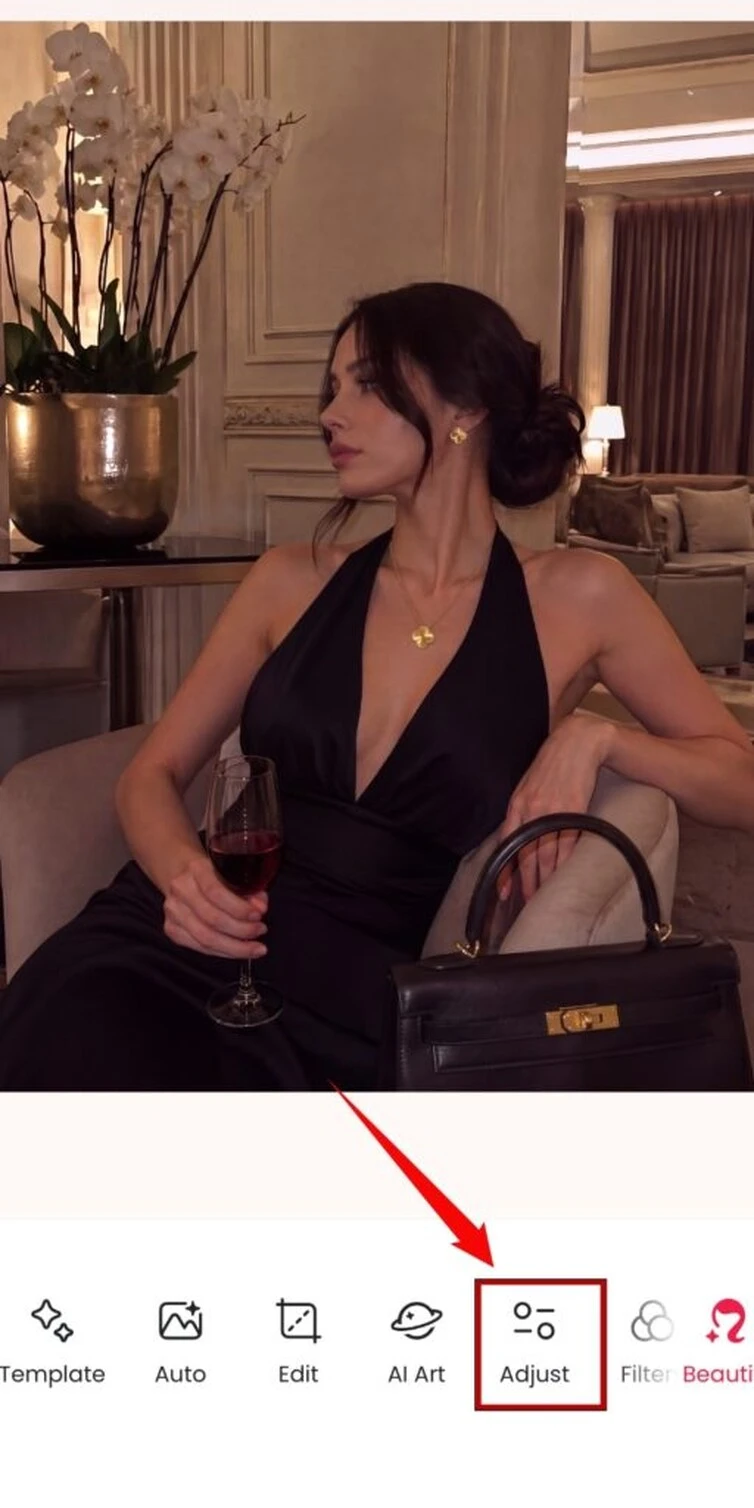
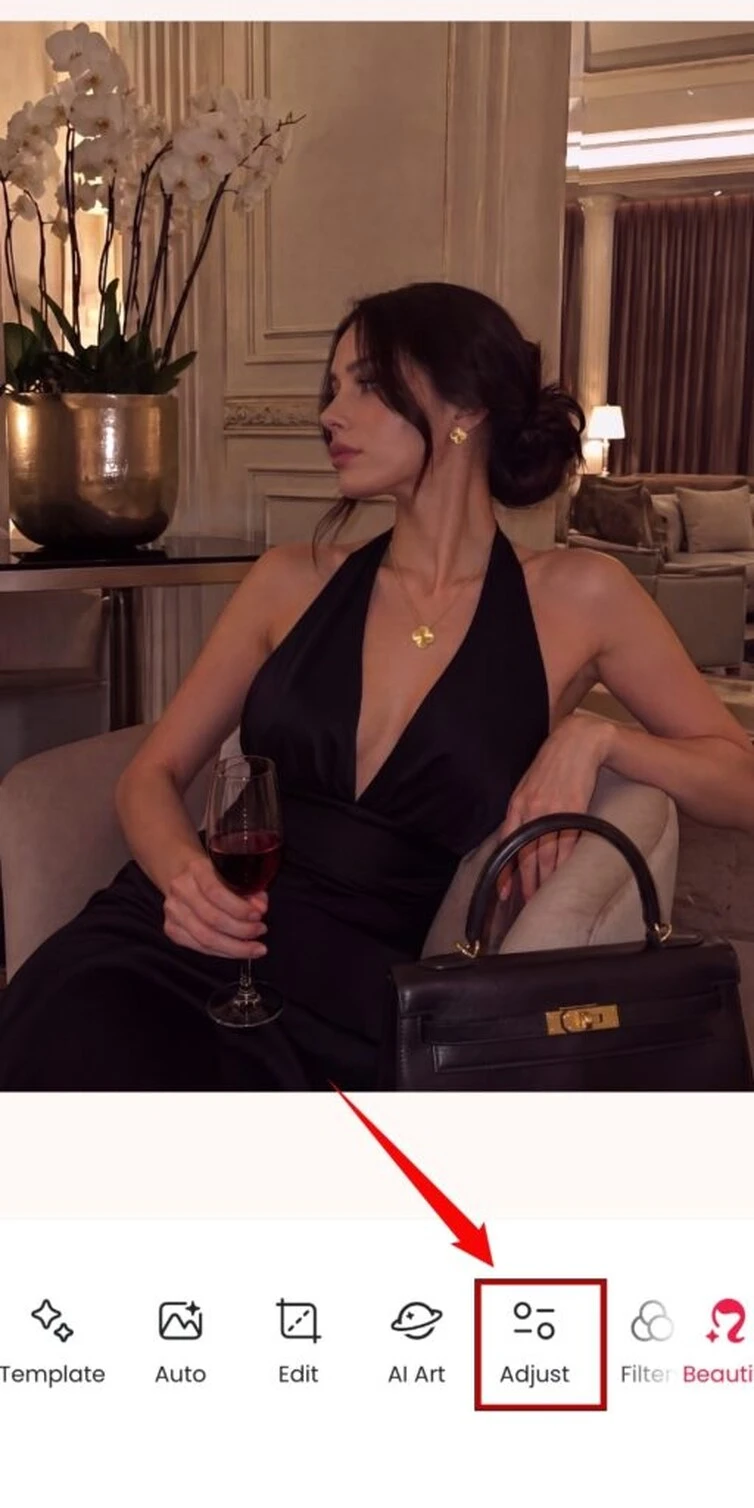
Step 1: Open your photo and tap Adjust
Open a photo from your library in Meitu. In the main editing screen, tap Adjust in the bottom toolbar.
For this walkthrough, we use an indoor portrait with a dimly lit subject and a warm background.
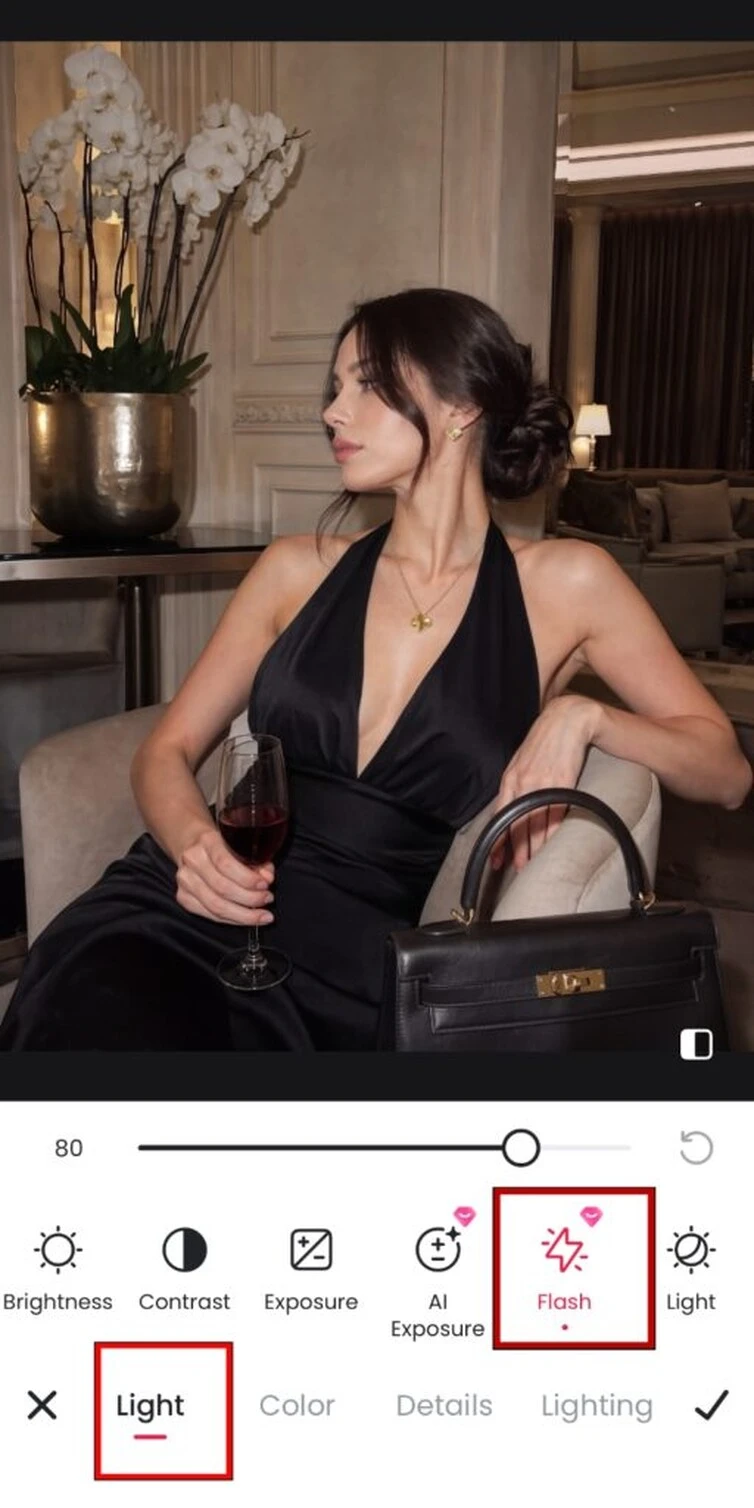
Step 2: Select Light, then Flash
Inside Adjust, tap Light. Select Flash and wait for the processing indicator to disappear.
Once processing finishes, you can preview the effect on your photo.
Step 3: Refine the intensity
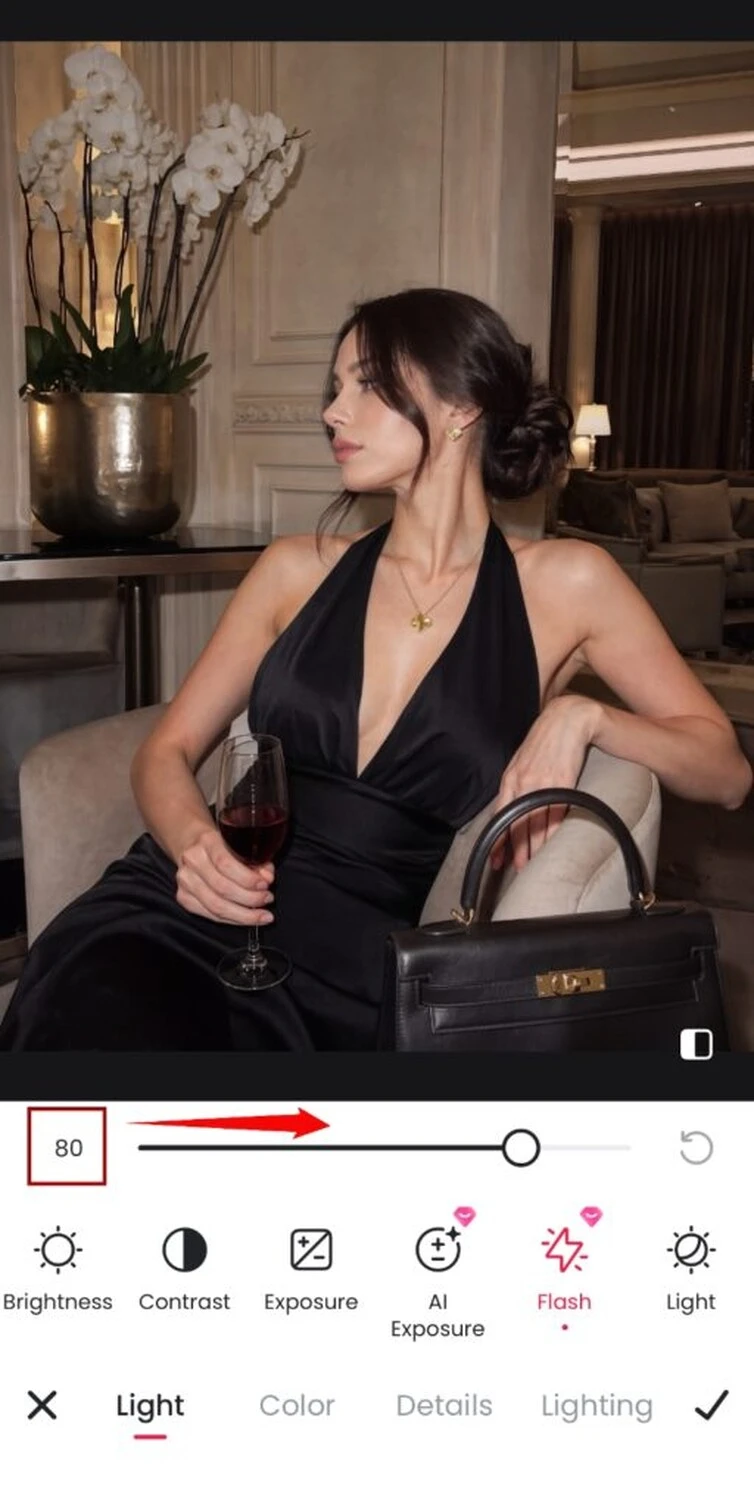
Move the intensity slider to change how strongly the effect appears. Watch the face and shoulders as you adjust it, then look at the image as a whole.
The demonstration uses 80, but this is an example setting—not a value every photo needs. Stop at the intensity that gives your image the balance you prefer.
Step 4: Apply and save
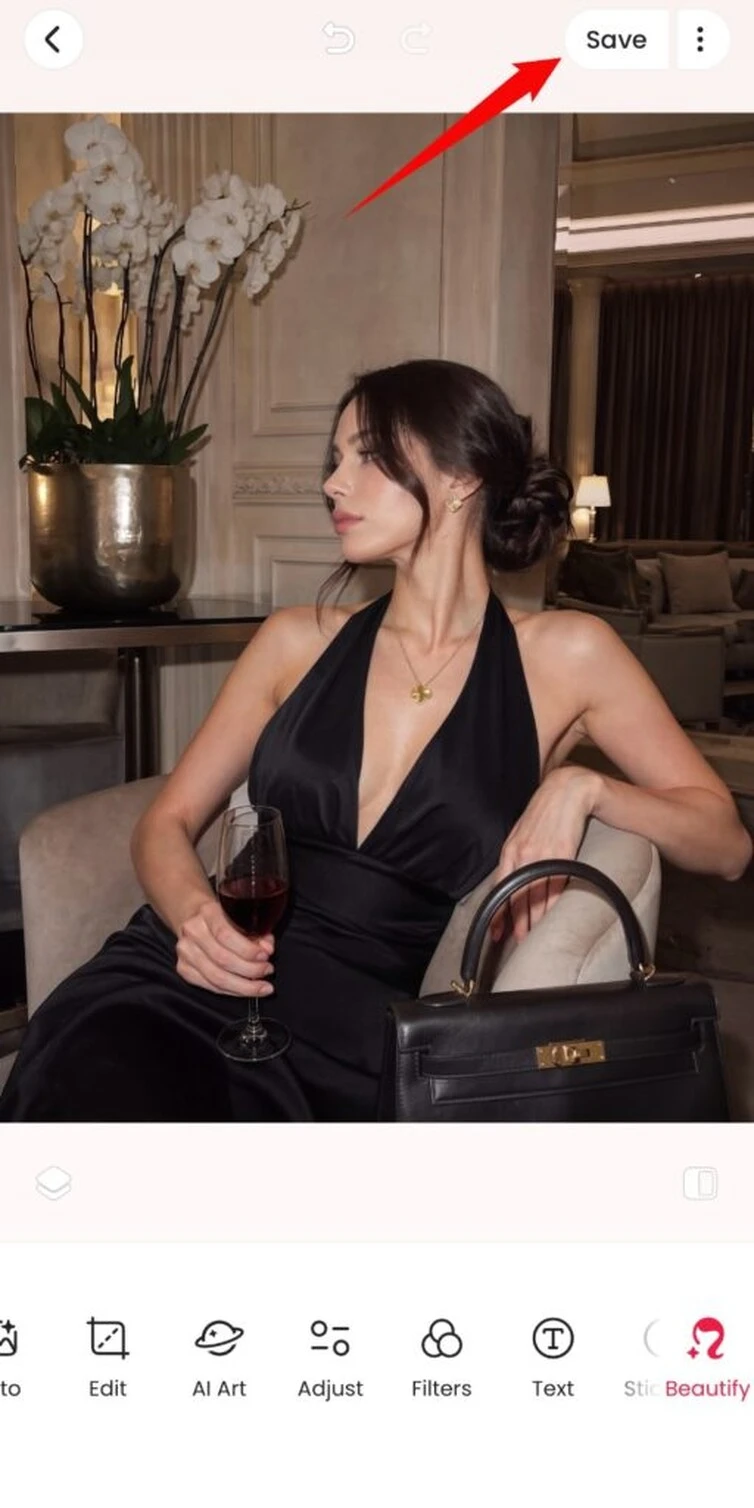
Tap the checkmark in the lower-right corner to apply the effect. Back in the main editor, tap Save in the upper-right corner.
For more detail on image adjustments, see how to use Meitu’s image enhancement tools.
Download Meitu for iPhone | Get Meitu for Android
How to Choose the Right Intensity
The strongest setting is not necessarily the best match for your photo. Use these three checks to judge the result.
Check the face first. Look at the forehead, cheeks, and nose. If bright areas start to look flat or lose visible detail, lower the intensity.
Look at skin color. Compare the edit with the original. Choose a setting that gives you the lighting style you want without pushing the skin toward an unwanted color.
Check the whole scene. Look beyond the face to the clothing and background. In a moody indoor portrait, some darkness can help preserve the setting. The edit should work for the entire image, not just one area.
FAQs
Can I add a flash effect to a photo I have already taken?
Yes. Meitu’s Flash effect works on an existing photo. Open the image, then go to Adjust → Light → Flash to apply and adjust it.
Where can I find Flash in Meitu?
In the interface shown in this guide, Flash is in the Light section under Adjust. It appears beside Flash Pro and other lighting options.
Which photos should I try it on?
A dim but reasonably clear portrait is a useful starting point. This tutorial demonstrates an indoor portrait where the face and upper body appear dark. Preview the effect on your own photo, since the result depends on the original lighting and detail.
How do I make the effect less strong?
After processing finishes, reduce the intensity using the slider. Check the brightest parts of the face as you adjust, then tap the checkmark when you are satisfied.
Should I use the same intensity as the example?
No. The example uses 80 to demonstrate the effect on one photo. A different image may need a lower or higher setting depending on its starting exposure and the look you want.
Does this replace a real camera flash?
It creates a flash-like appearance after the photo has been taken. A real flash adds light during capture, so the two processes are different. Editing cannot reliably recover detail that was never recorded in the original image.
Is this tutorial for Flash Pro?
No. These steps demonstrate Flash. Flash Pro is shown as a separate option and is not used in this walkthrough.
Try It on a Portrait You Already Like
Choose a photo with an expression and setting you want to keep. Open Adjust → Light → Flash, preview the change, and refine the intensity before saving. Use the face and the surrounding scene together to decide when the edit is ready.