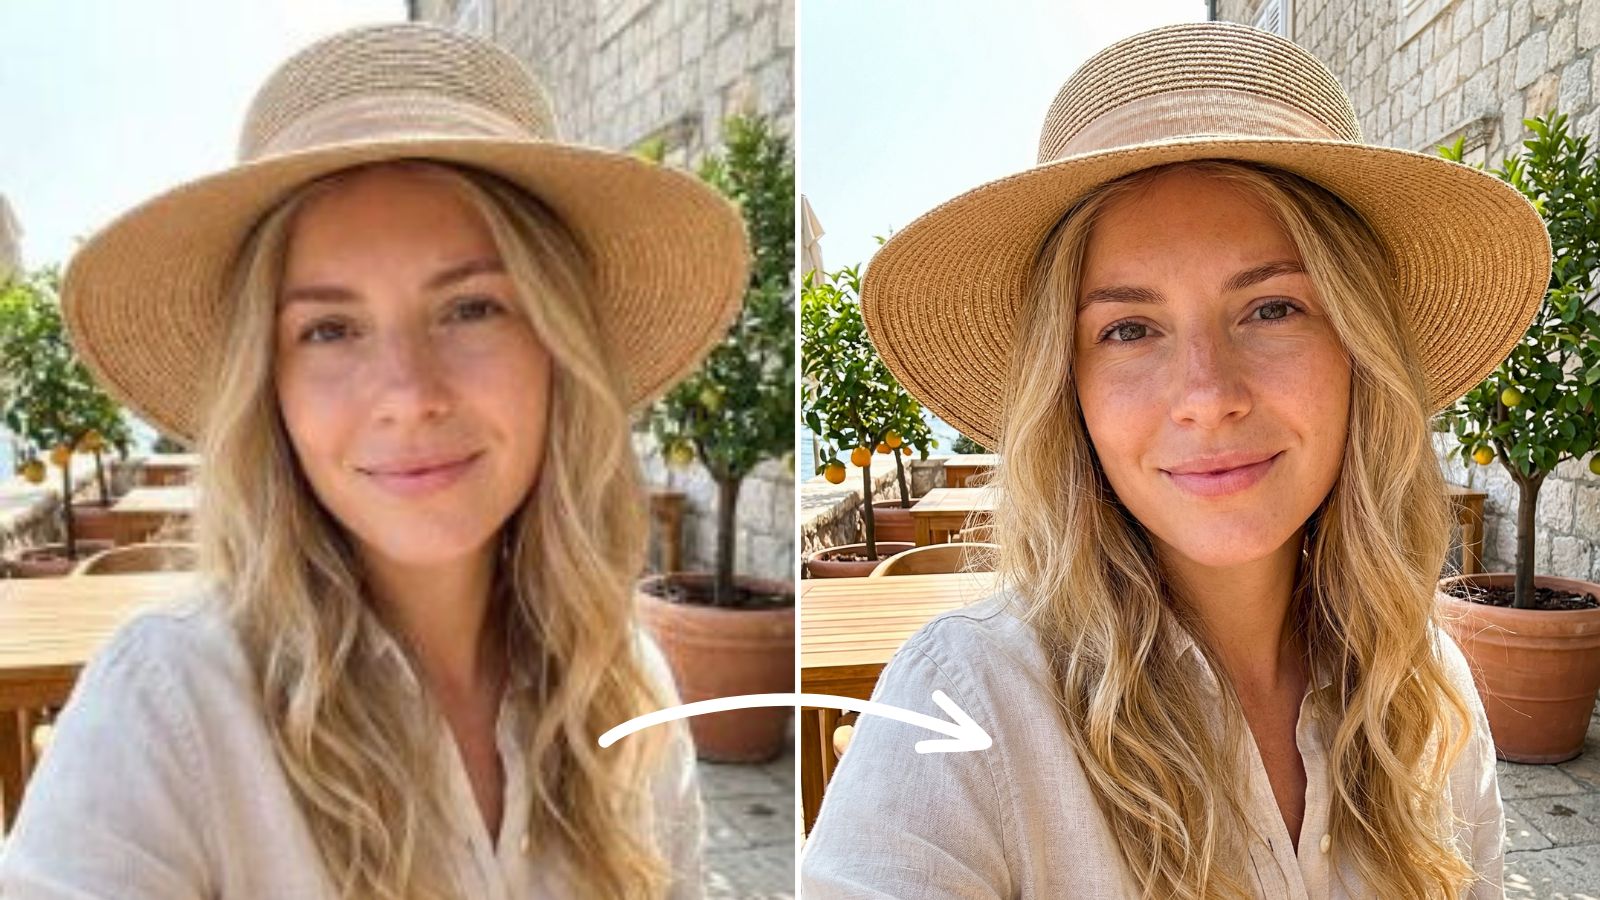
How to Remove Unwanted People and Objects from Photos with Meitu
By Meitu Featured Editing Team · Updated September 28, 2026
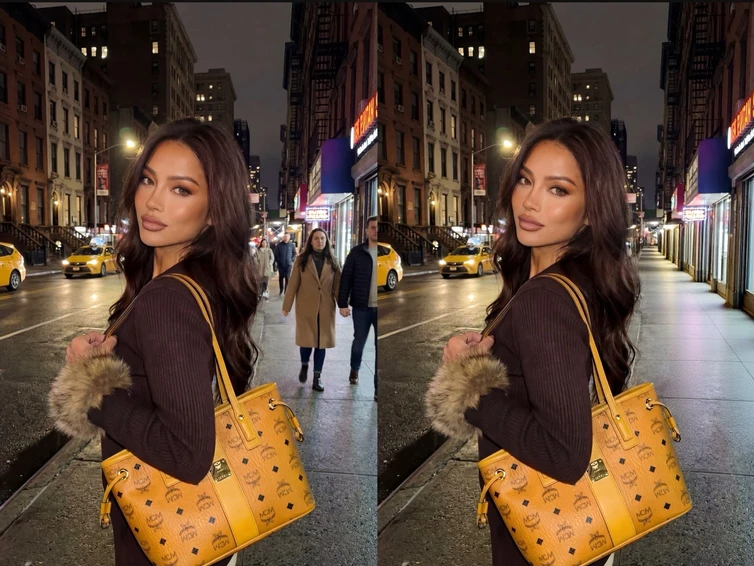
To remove unwanted people or objects from a photo with Meitu, open AI Removal, select an image, and mark the area you want to erase. Let the tool process the selection, review the filled area, and save the result. Start with a distraction that is clearly separated from your main subject, then check the surrounding texture and edges before sharing.
This guide focuses on removing background visitors and small distractions from everyday photos, with practical checks for keeping the finished scene believable.
Table of Contents
- Keep the photo, remove the distraction
- Before you start
- How to remove unwanted people and objects in Meitu
- Check the edited area
- FAQs
Keep the Photo, Remove the Distraction
You like your expression and the view, but a passerby at the edge of the frame draws attention away from you. Cropping would cut off part of the scenery you wanted to keep. A focused removal edit can help you explore a cleaner version of the same composition.
The official example on the previous page shows a beach portrait with background visitors removed. The same editing task also comes up in a travel photo with a stray bag or a café shot with a discarded cup. Choose the distraction you want to remove while keeping the parts that give the scene its character.
Before You Start
Use the original photo when possible, and keep a copy. Start with a reasonably clear image and one unwanted person or object that does not overlap your main subject. A visible stretch of sand, pavement, or plain wall around the distraction gives you a useful place to check the result.
Check any price or usage requirement shown in your app before processing. Meitu is free to download and offers in-app purchases; tool placement and labels can vary by version.
How to Remove Unwanted People and Objects in Meitu
Step 1: Open AI Removal and choose your photo
Open Meitu, find AI Removal, and select the image you want to edit from your photo library. Check that you have chosen the original photo and decide which person or object to remove first.
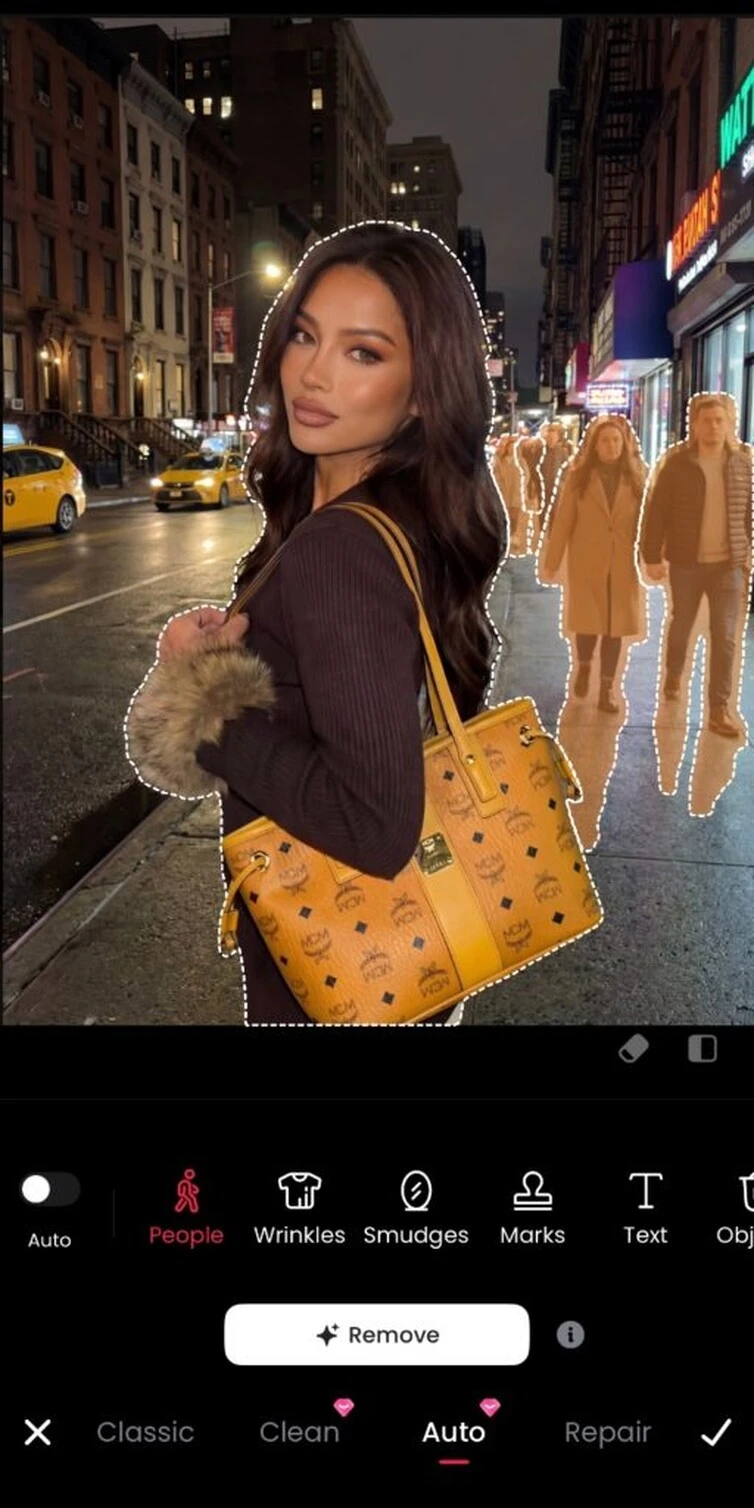
Step 2: Mark the unwanted person or object
Use the manual selection controls to mark the unwanted element. Follow the selection method shown in the tool, covering its full shape while avoiding nearby hair, clothing, or other details you want to keep. Begin with one distraction so you can judge the change clearly.
IMAGE 01
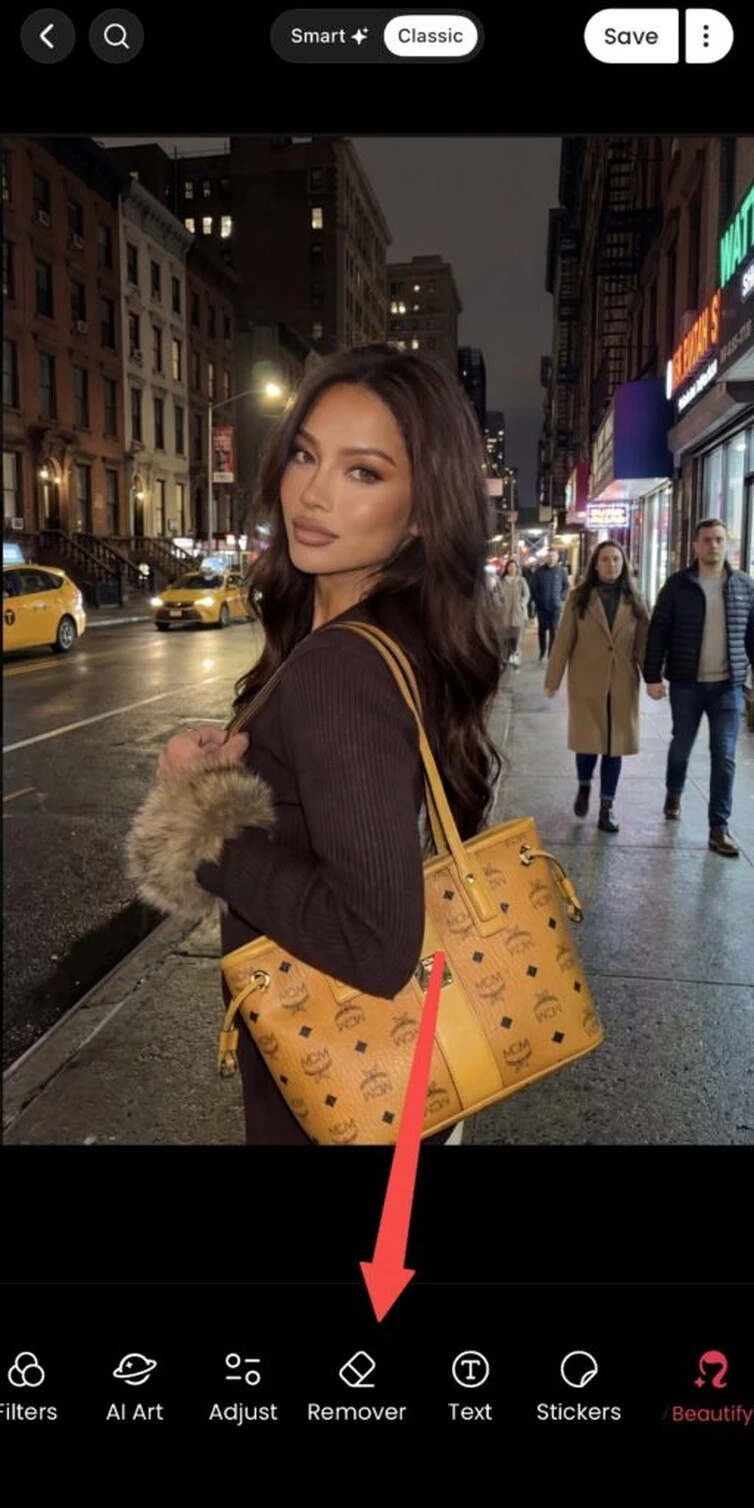
IMAGE 02
Step 3: Process the selected area
Complete the selection and follow the on-screen prompt to apply the removal. Wait for the processed result before making another change. Meitu fills the selected area based on the surrounding scene, so inspect that new content as well as checking that the unwanted person or object is gone.
The filled area is an edited reconstruction. It should fit the photo visually, but it does not establish exactly what was hidden behind the removed subject.
Step 4: Review the result and refine if needed
Look closely at the edited area, then return to the full composition. Check whether the texture, lighting, and visible lines connect with the surrounding image. Also inspect the edge of the person or object you intended to keep.
If you notice part of a bag, a shoe, or a separate shadow left behind, select that remaining detail for another pass. If a larger area looks distorted, return to your original and try a tighter selection. When the unwanted element overlaps your subject, a different photo may give you a better starting point.
IMAGE 03
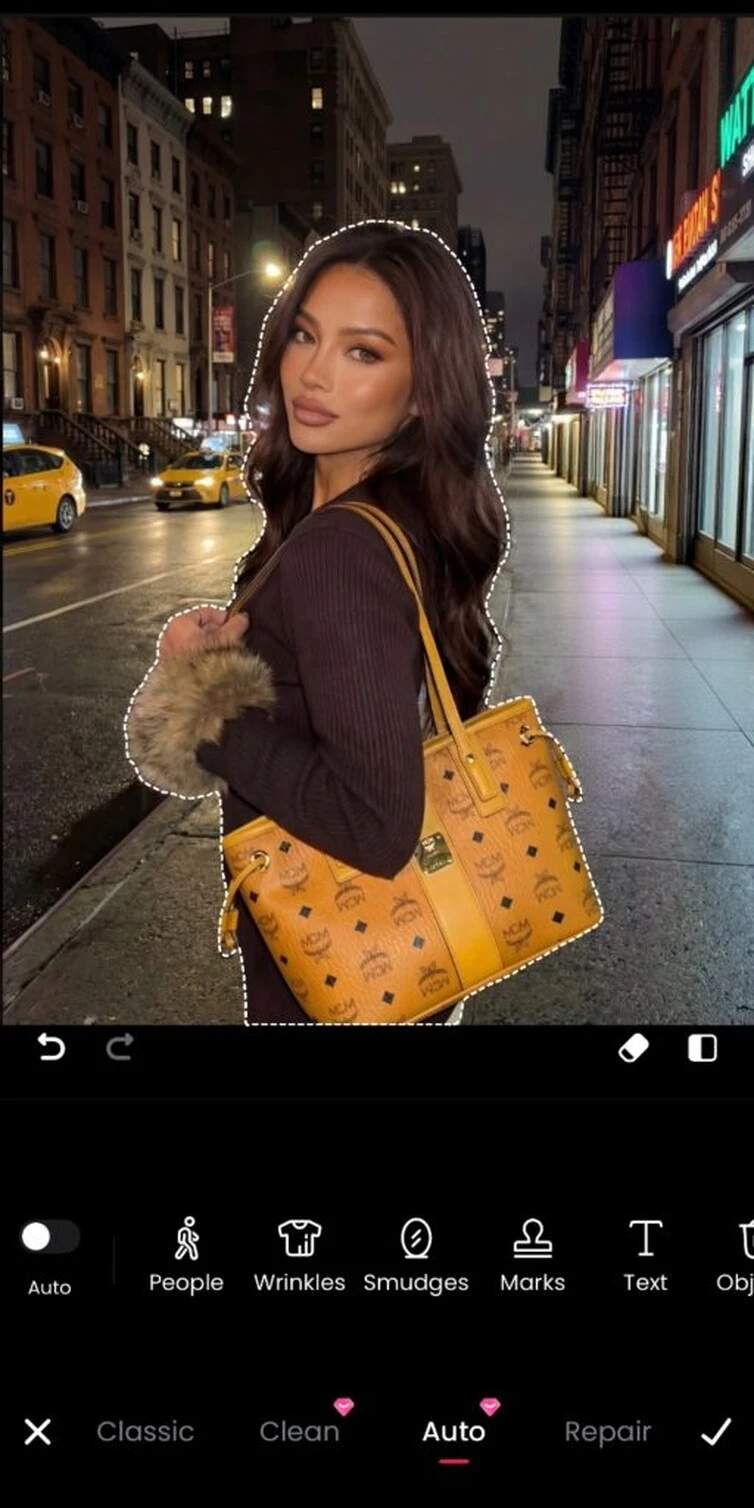
IMAGE 04

Remove Additional Distractions One at a Time
Once the first edit looks right, move on to the next unwanted element. Reviewing each change separately makes it easier to see which selection needs attention. Stop when the scene feels balanced; you do not need to remove every person or everyday detail from the background.
Step 5: Confirm the edit and save your photo
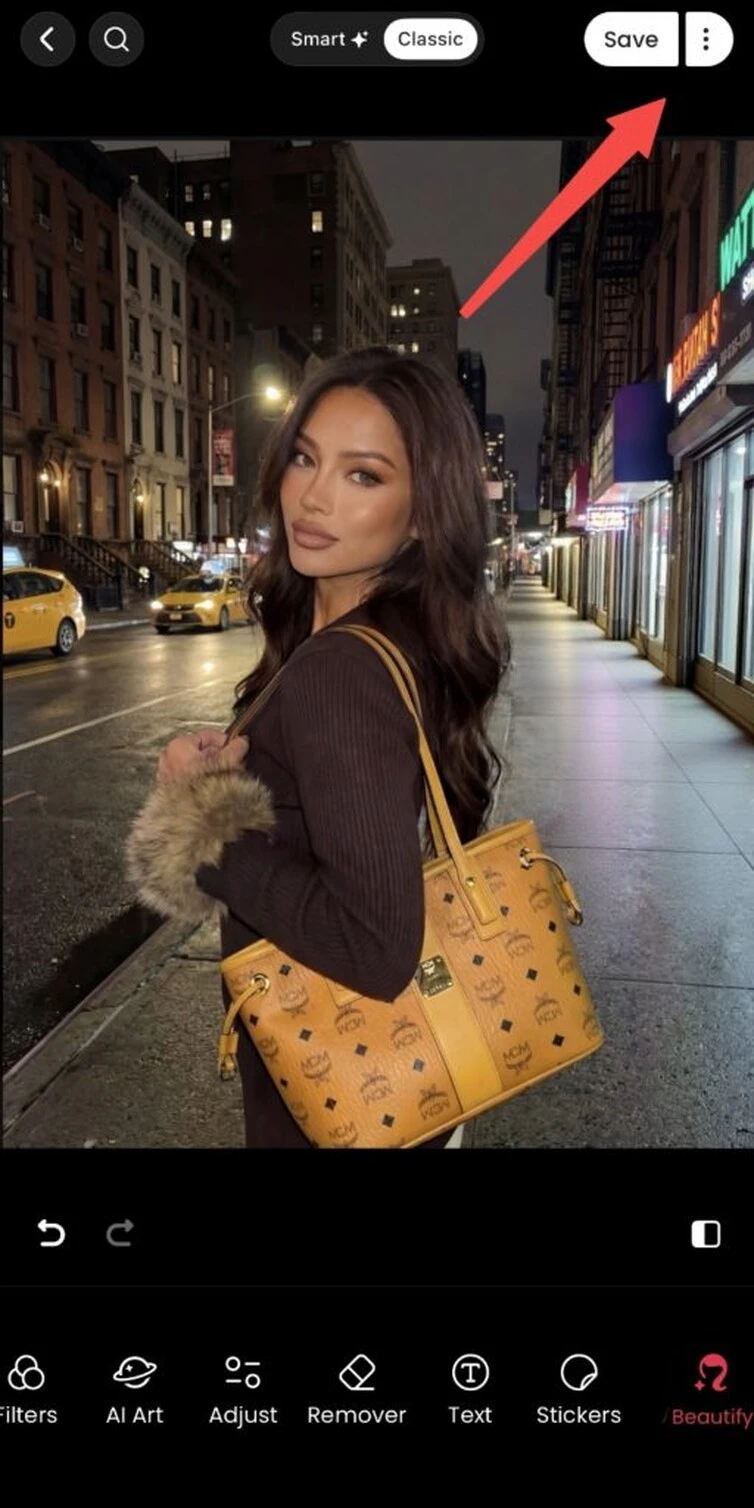
When you are happy with the result, confirm the edit if prompted and tap Save. Open the saved image in your photo library to check the final version. Keep the original alongside it so you can compare the two or start again if needed.
Check the Edited Area
A convincing removal should work both up close and at the size people will actually view the photo. Use these three checks before deciding that your edit is finished.
IMAGE 05
Background texture and lines
Look for repeated patches, smeared detail, or a horizon, railing, or pavement line that bends at the edited area. A result that looks fine at first glance may need closer attention around these structures.
Your main subject
Compare hair, shoulders, clothing, and any nearby accessories with the original. Make sure the selection has not removed an edge that belongs to the person or object you are keeping.
Shadows and reflections
A removed object may leave a separate shadow or reflection behind. Check whether it still makes sense in the scene. If you edit it, avoid removing shadows that belong to the remaining subject.
Finally, view the whole photo at a normal size. The goal is a composition you enjoy using, with an edited area that does not pull attention away from the scene.
For more detail on general adjustments, see how to use Meitu’s image enhancement tools.
Download Meitu for iPhone | Download Meitu for Android
FAQs
Can I remove a person from a photo without cropping it?
Yes. AI Removal lets you select an unwanted person and edit that area while keeping the overall framing. Review the filled background before saving, especially where the person stood near detailed scenery or the main subject.
Can I remove small objects as well as people?
Yes. You can try the tool on distractions such as a bag, a cup, or a small item on the ground. Mark only the element you want removed and check the result before working on another part of the image.
What if the unwanted person overlaps the main subject?
That is a more demanding edit because removing one person may also require reconstructing parts of the other. Inspect faces, hair, hands, and clothing closely. If the result changes details you want to preserve, try another source photo or a different crop.
Why does the filled area look blurry or repetitive?
The replacement may not match a detailed or patterned background convincingly. Try a more precise selection and work on one distraction at a time. If a railing, tiled floor, or other important structure still looks wrong, keep the original or choose another photo.
Is AI Removal the same as AI Cutout?
No. AI Removal is for erasing selected elements and filling their place in the scene. AI Cutout is for separating a subject from its background. For a stray visitor or object in a setting you want to keep, use removal.
Is AI Removal free to use?
Check the price, available uses, and any membership requirement displayed in your version of Meitu. The app is free to download and offers in-app purchases, so do not assume every removal option is included for every account.
Give a Photo You Like a Cleaner Background
Start with one photo and one distraction. Mark the area carefully, review the reconstructed background, and save the version you prefer. A small, well-chosen edit can help the subject and setting you liked in the first place hold your attention.
Download Meitu for iPhone | Get Meitu for Android
Related tutorial: How to Brighten Photos with a Flash Effect in Meitu.